REVIEW · SAN DIEGO
Coastal Beauty – Private Sunset & Night Photography Tour
Book on Viator →Operated by San Diego Photography Tours · Bookable on Viator
A good sunset helps your photos.
This private workshop is built around hands-on teaching with a pro photographer (Julie), so you get practical help that actually applies while you’re standing in front of the view. I especially like the one-on-one style instruction in plain English and the way night photography is taught as a real skill, not a vague concept. One thing to consider: it’s active in spots—there are slippery stairs and uneven footing—so you’ll want shoes with good tread.
You’ll start in the late afternoon and work through classic La Jolla coastal scenes before the light drops, then keep shooting once the pier lights up. You also get a tripod, bottled water, and private transportation, which makes it easier to focus on your camera instead of logistics.
In This Review
- Key highlights worth your time
- A 4-hour private photo workshop that teaches while you shoot
- How the sunset-to-night timing makes the learning actually stick
- Sea Cave: waves, cliffs, and the kind of motion your camera needs help with
- La Jolla Cove and Ellen Browning Scripps Park: wildlife and nature without losing your framing
- Torrey Pines Gliderport: sunset scenes that reward good positioning
- Scripps Institute Coastal Reserve and Scripps Pier: night photography done at the right time and place
- Price and value: why $485 per group can make sense for the learning
- What’s included (and what you need to bring so it’s not stressful)
- Terrain and timing: the tour is scenic, but you should be ready to move
- Who this sunset and night photography tour is best for
- Should you book this private sunset and night photography tour?
- FAQ
- How long is the tour, and what time does it start?
- Is this a private tour, and how big is the group?
- Do you offer pickup, or do I meet at a specific location?
- Is a tripod included?
- Do I need to bring my own camera?
- Where will we photograph, especially for sunset and night?
- Are there admission tickets I need to pay?
- What footwear should I wear?
- What are the car seat rules for children?
- What happens if the weather is bad?
Key highlights worth your time
- Julie’s one-on-one instruction: clear explanations and shooting exercises you can reuse on future trips
- Sunset-to-night flow: you learn during golden light, then apply it after dark at the pier
- Iconic La Jolla locations in one evening: Sea Cave, La Jolla Cove, Scripps areas, and Torrey Pines views
- Practical composition coaching: help with framing and what to look for before you press the shutter
- Tripod provided: you’re not stuck hunting for gear at the last minute
- Terrain isn’t flat: you’ll be on coastal paths with stairs, sand, and water risk
A 4-hour private photo workshop that teaches while you shoot
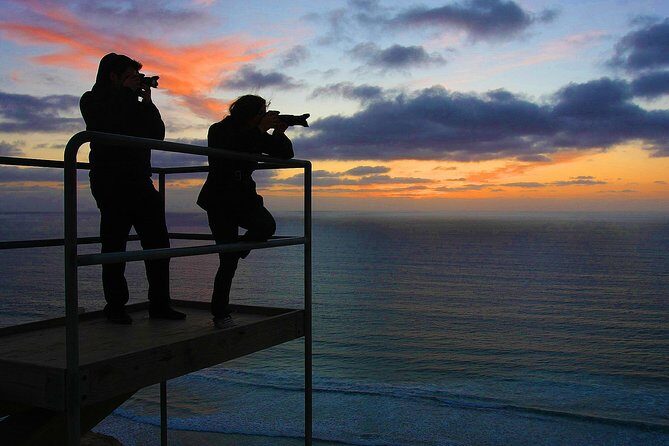
This is not one of those tours where you watch someone else take pictures from the sidewalk. The point here is learning by doing, in small-group format, with a photographer who can adjust tips to your camera and your questions in the moment.
Julie’s teaching style shows up in what past visitors emphasized: she gives guidance in plain English, and she doesn’t just explain settings—she pushes you to look differently at composition. If you’ve ever taken a bunch of photos and wondered why they don’t feel like what you saw with your own eyes, this kind of coaching can fix that fast.
It also helps that the tour is planned around changing light. You’re not spending the whole time at one spot. You go from bright coastal views to shaded areas, then to a scene with artificial lights—so you get a practical range of photographic situations in one evening.
Other private tours in San Diego

How the sunset-to-night timing makes the learning actually stick
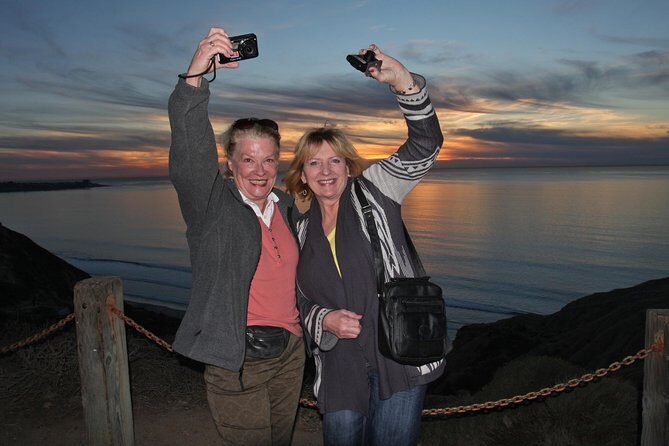
San Diego’s coastline is pretty at any hour. The trick is learning what changes when the sun drops: exposure, shutter speed, focus behavior, noise, and how to frame lights without turning everything into one blurry blob.
That’s why the structure matters. You work through scenic stops during sunset conditions, then you shift to night photography once the pier and beach areas are lit up. The tour’s evening pace gives you a chance to try something, see how it looks, and correct course with instant help rather than waiting until you get home.
You don’t need to be a technical wizard beforehand. You do need to be willing to slow down and test. This tour rewards curiosity: ask why a shot works, and you’ll get a usable answer instead of a lecture.
Sea Cave: waves, cliffs, and the kind of motion your camera needs help with
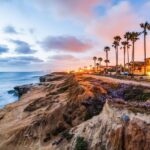
Sea Cave is the first big stop and it’s where the coastline looks dramatic right away. Expect ocean coves, postcard cliffs, and that constant motion of waves—plus surfers and palm trees in the mix. It’s a photographer’s playground, but it can also be a realism check for your gear and settings.
Why this stop is valuable for learning:
- You’ll run into moving subjects (waves and surfers), which forces you to think about shutter speed and how motion will show up in your final image.
- You’ll deal with high contrast: bright water and shadows across cliffs. That’s exactly what helps you practice exposure choices.
- You’ll be framing for both texture (rock, water, cliffs) and scale (the coastline opening up around you).
Plan for about an hour here. This is long enough to try multiple angles and build a mini shot list: wide scene, detail, and one “keep this” image that feels like the place—not just a quick snap.
La Jolla Cove and Ellen Browning Scripps Park: wildlife and nature without losing your framing
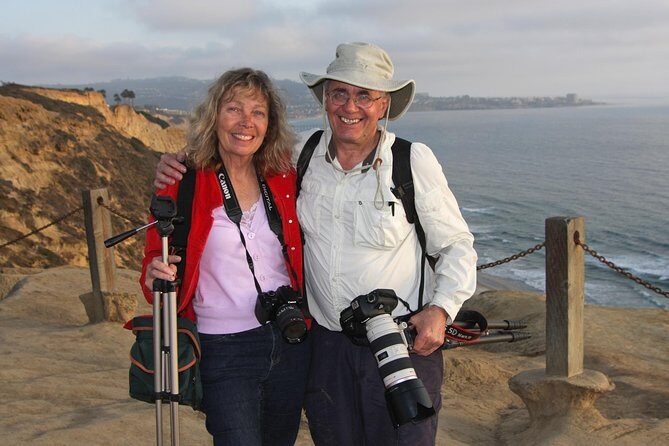
After Sea Cave, the tour turns more intimate and slower: La Jolla Cove first, then Ellen Browning Scripps Park.
At La Jolla Cove, you get a pretty little beach, big views, and wildlife cues. The time is shorter (about 15 minutes), so the coaching here is about efficiency. You’ll want to move your attention quickly from “what’s here?” to “what’s my subject?”—and then lock in a composition before the best angle disappears.
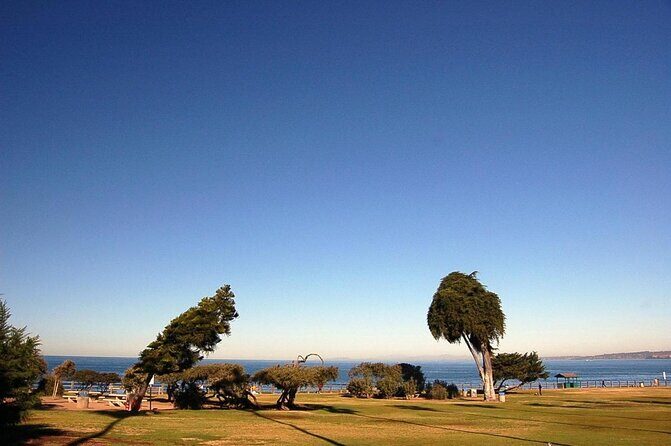
Then you head to Ellen Browning Scripps Park, another quick stop (also about 15 minutes). This is a nature walk area where you can photograph majestic birds and playful sea lions, plus soak up La Jolla culture through the setting. Birds are great for practicing focus and timing. Sea lions add personality and movement. Even in a short window, you’ll likely come away with images that feel alive instead of still.
If you’ve been stuck with photos that look technically correct but emotionally flat, this is the kind of stop that teaches “story in the frame.” You’re seeing action, so your photos naturally start to say something.
Torrey Pines Gliderport: sunset scenes that reward good positioning
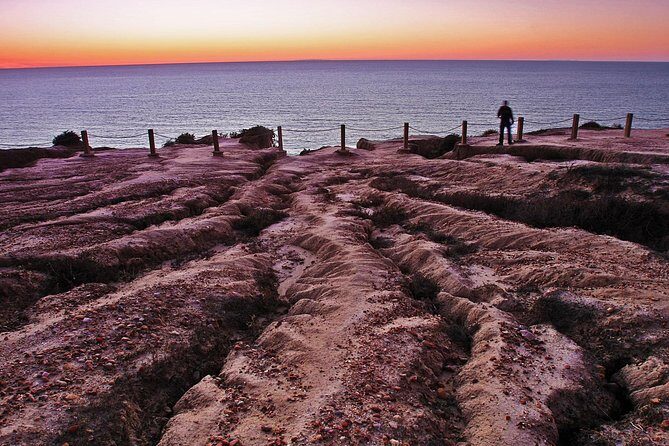
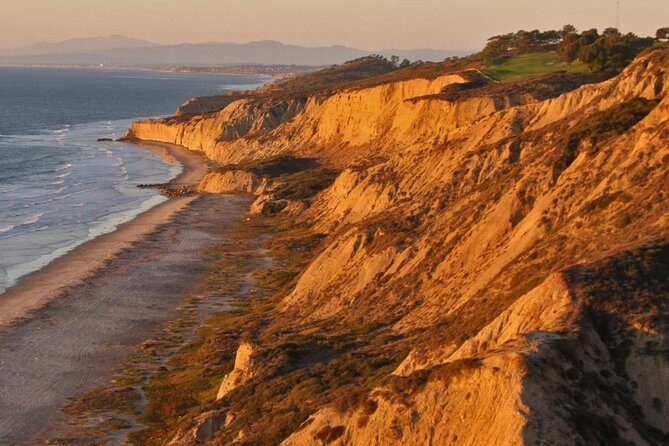
Torrey Pines Gliderport is a perfect sunset backdrop: pristine bays, gorgeous cliffs, and unusual coastal scenery. You’ll have around 20 minutes here, which is enough time to try a few viewpoints without turning it into a rushed checkout.
This is where I like to tell people to think in layers:
- foreground detail (cliff textures or a strong edge),
- midground subject (the bay and coastline curve),
- background (the sky light that changes by the minute).
A gliderport also gives you a built-in visual rhythm. Even if you don’t photograph gliders directly, the wide sightlines encourage wide compositions that feel cinematic. And since you’re about to move into night photography later, this stop is your bridge: you’re finishing the sunset practice, but you’re also preparing your eye for night scenes where contrast flips.
Other evening experiences in San Diego


Scripps Institute Coastal Reserve and Scripps Pier: night photography done at the right time and place
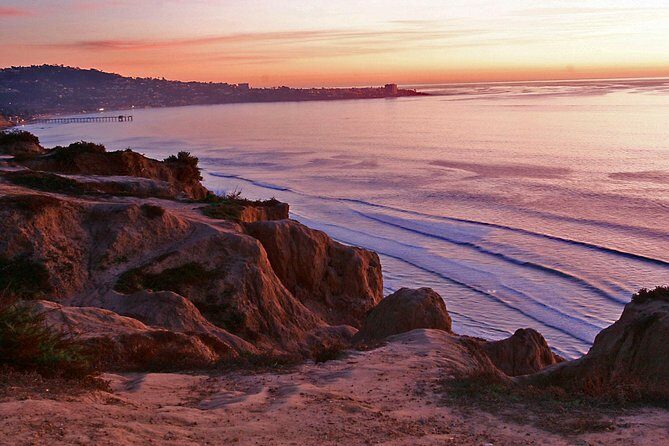
The final stop is the big payoff. At the Scripps Institute of Oceanography Coastal Reserve, you’ll focus on the iconic Scripps Pier and the surrounding beach area for night photography. This is where the tour earns its name—because night shooting is all about conditions, and this place delivers them.
Expect about an hour here. The pier lights give you clear points of brightness, straight lines, and reflections you can use to practice framing. The beach area also gives you a sense of depth, so your images don’t just become a random dark scene with a few glowing dots.
Julie’s guidance at this stage is typically what people remember most: learning night photography fast, with an emphasis on making images that look intentional. In practical terms, you’ll be putting together everything you touched during sunset—then adapting it to low light. The difference is you can’t rely on the camera to guess correctly every time. You’ll be nudged into making choices and then correcting as you see results.
If you’ve avoided night photography because you’ve heard it’s too hard, this tour is a strong antidote. The teaching is designed to turn difficulty into a step-by-step process—while you’re actually looking at the pier light show.
Price and value: why $485 per group can make sense for the learning
At $485 per group (up to four), this isn’t a low-cost activity if you’re thinking like a ticket price. But if you price it like a photography lesson plus transportation plus a guided path through multiple prime locations, the math changes.
Here’s what you’re paying for:
- Private transportation (midsize car shuttling you between coastal stops)
- A tripod provided, so you’re not scrambling for one
- Expert coaching from a professional photographer during multiple shooting phases (sunset and night)
- Time planning for light, which is a real advantage in a city where sunsets are short
Also, the small-group setup can be a hidden value. In a class with strangers, you usually get generic tips. In this format, you can get answers that fit your current setup, your camera, and what you’re trying to capture.
One note on comfort: the car is described as midsize, and if there are four adults, seating might feel tight since three people sit in the back. It’s not a dealbreaker, but it’s worth planning for.
What’s included (and what you need to bring so it’s not stressful)
The included items are refreshingly practical:
- Tripod provided
- Private transportation
- Bottled water
- Expert photography tour guide
What’s not included matters too:
- Cameras are not provided, so you’ll need to bring your own camera.
- Child car seat not provided (more on that in the FAQ section).
- Hiking boots or shoes with good tread are recommended, and the terrain can get slippery and uneven.
Also, plan for sand and water risk. Coastal areas can mean damp ground and wet sand. If you wear shoes with decent grip, you’ll spend less time thinking about footing and more time thinking about your shot.
Terrain and timing: the tour is scenic, but you should be ready to move
This experience calls for moderate physical fitness. You’ll deal with slippery stairs, uneven footing, and coastal ground conditions. That’s why the footwear recommendation is such a big deal—if your shoes aren’t stable, you’ll either slow down or miss angles.
Timing also matters because you’re working against the light. The tour starts at 3:45 pm, and you’ll be moving through stops while the sky is shifting. If you’re the kind of person who likes to linger for 45 minutes at every viewpoint, you might feel the pace. If you’re willing to work efficiently, you’ll get more learning per hour.
Because the tour is private, you’re also not competing with a large crowd for angles. That makes it easier to set up your tripod, check composition, and try again.
Who this sunset and night photography tour is best for
This tour fits best if you fall into one of these buckets:
- You want hands-on instruction and are tired of generic tips
- You’re comfortable with your camera but want help seeing composition and exposure more clearly
- You want to learn night photography and would rather do it with coaching at real locations
- You’re traveling with up to three people and want a shared experience that still feels personal
It’s also a solid choice if you’ve visited San Diego before and feel like you’ve only seen the obvious viewpoints. This route focuses on coastal scenes that are visually strong and also teachable.
If you’re someone who hates getting your feet wet or doesn’t like stairs at all, you might find the terrain limiting. The tour is designed for photography, and photography here means being willing to navigate coastal steps.
Should you book this private sunset and night photography tour?
I’d book it if your goal is not just photos, but improvement—and if you want that improvement in the real environment where light and motion change fast. The strongest reason to choose this one is the combination of one-on-one coaching and a practical sunset-to-night structure at photogenic La Jolla coastline spots, including Scripps Pier for night work.
I wouldn’t book it if you’re looking for an easy, mostly seated sightseeing stroll, or if you’re unprepared for uneven footing and slippery stairs. In the right frame of mind—and with the right shoes—it’s a fun, focused evening that makes your camera feel more capable.
FAQ
How long is the tour, and what time does it start?
The tour runs about 4 hours and starts at 3:45 pm.
Is this a private tour, and how big is the group?
Yes. It’s private, and the group size is up to four people.
Do you offer pickup, or do I meet at a specific location?
Pickup is offered. The meeting point listed is Piazza della Famiglia, 523 W Date St, San Diego, CA 92101, and the activity ends back at the meeting point.
Is a tripod included?
Yes. A tripod is provided as part of the tour.
Do I need to bring my own camera?
Yes. Cameras are not provided.
Where will we photograph, especially for sunset and night?
You’ll visit Sea Cave, La Jolla Cove, Ellen Browning Scripps Park, Torrey Pines Gliderport, and the Scripps Institute of Oceanography Coastal Reserve area. Night photography is done at Scripps Pier.
Are there admission tickets I need to pay?
The listed stops show admission tickets as free.
What footwear should I wear?
Wear hiking boots or shoes with good tread. There are slippery stairs and uneven footing, and you might get sand and water in your shoes.
What are the car seat rules for children?
If you have a child under 8, you must bring your own child car seat or booster seat. It’s not okay for the child to sit on your lap.
What happens if the weather is bad?
The tour requires good weather. If it’s canceled due to poor weather, you’ll be offered a different date or a full refund.